


The Perfect Pork Chop
2 ingredients, 4 minutes

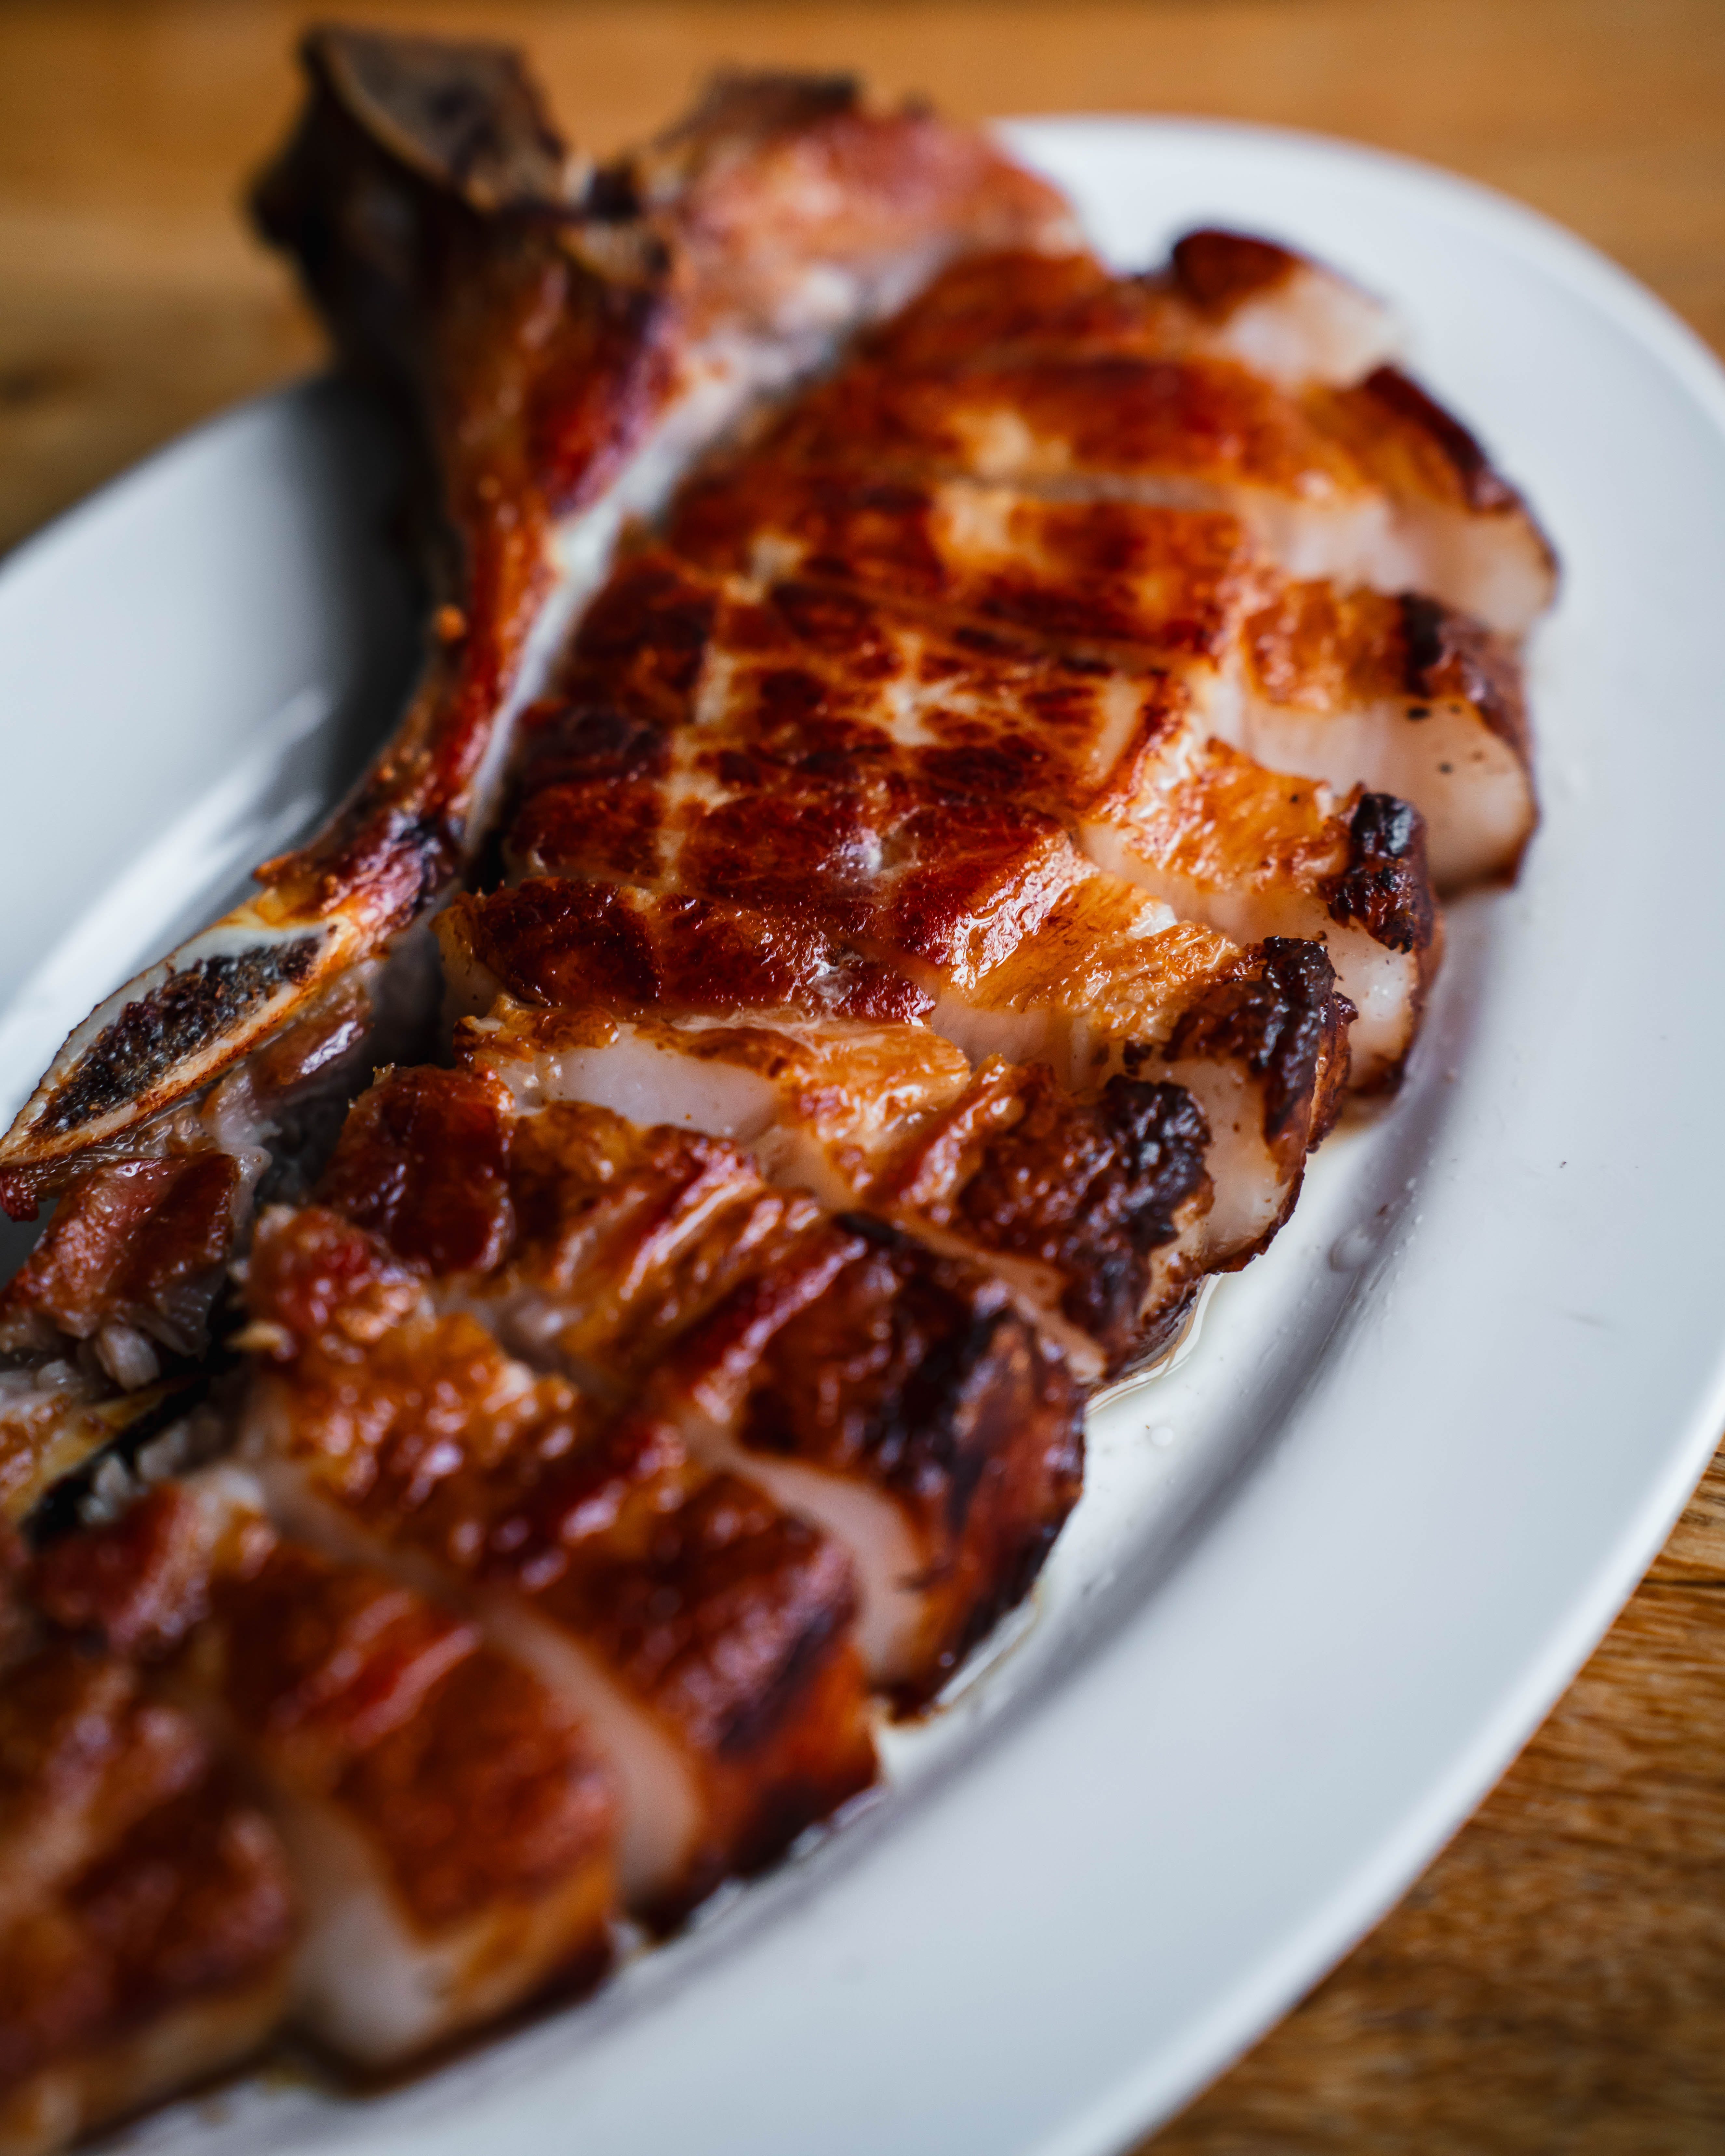
Pork chops are underrated. Frequently overlooked by beef, wings, thighs, pork belly, ribs, you name it, the humble pork chop gets a bad rap not because it is not as tasty as more common cuts but because it is harder to make tasty than other cuts. With proper attention and care, pork chops can be delectable. When lean, adequately seasoned meat is combined with a smoky, crispy crust and perfectly rendered, incredibly flavourful fat - there are few things better. But getting to this point takes a little work.
The recipe I'm sharing below was almost accidental. When I inadvertently came up with it, I had been cooking and smoking a lot of pork in my kamado, recipe-testing many variations for an upcoming pop-up. Repetitively cooking lots of pork (mostly belly and jowl) in the kamado taught me/reinforced a few things. First, seasoning/brining/marinating need not be complex. Out of all the marinades/brines/cures, I experimented with the simplest (salt, sugar, dark soy) turned out to be the most delicious. The second thing I learnt, or better still got a better sense of, was the relationship between time and temperature and fat rendering. Most of my belly and jowl experiments in the kamado involved cooking the pork for hours over low heat, doing as such, I got a better feel for how and when fat renders.
So, back to this pork chop here. When it came time to cook it, I figured the simplest marinade of fish sauce (a preparation common in Thailand) would be sufficient. I also figured that instead of searing the chop on either side for a few minutes- as a lot of recipes advise- (and relying on that small amount of time to render out the fat), I would throw it in the oven a little above the minimum temperature required to render non-saturated fat (which is around 60c) and let it sit there for a while whilst I prepped other things. This low and slow time in the oven not only renders out the fat but also aids in drying the surfaces of the chop (which is an essential step in getting a crispy crust later on). Once I pulled the pork out of the oven, I decided to probe it and saw that it was 50 Celsius - which was perfect in that it gave me room to sear the pork in a pan to finish the cooking. After a quick sear in a hot stainless steel pan over a few minutes I had an immaculate pork chop.
Overall, the recipe is very simple. It involves marinating the chop in fish sauce for a few hours, patting it dry, and throwing it in the oven for a while before pan-frying it until cooked. I've provided more detailed instructions below, but before I get onto that, below are some thoughts on why I think this recipe works so well.
Why it works
Marinating the pork in fish sauce for a few hours achieves a few things. The high levels of salt and umami-rich compounds like inosinate and glutamate season the meat, making it more flavourful. Also, the fact fish sauce is largely made up of salt and water means in this instance, it acts as a sort of wet-brine aiding moisture retention firstly via the pork absorbing some of the water and secondly (and relatedly) the salt denaturing proteins, which help them better retain water molecules during cooking.
Letting the pork slowly cook in the oven at 70c similarly achieves a few things. Firstly, it dries out some of the surface moisture left by the fish sauce, which is important when trying to get a crispy crust during the pan-frying stage. Secondly, it renders out a lot of the fat in the chop, even before it gets into a hot pan.
The final searing over high heat in a pan renders out more fat (which results in delicious, buttery textures when eating), and also catalyses the Maillard reaction (aka 'browining' aka 'caremalisation') whereby amino acids react with reducing sugars to form delicious new smoky/charred flavour compounds.
The recipe
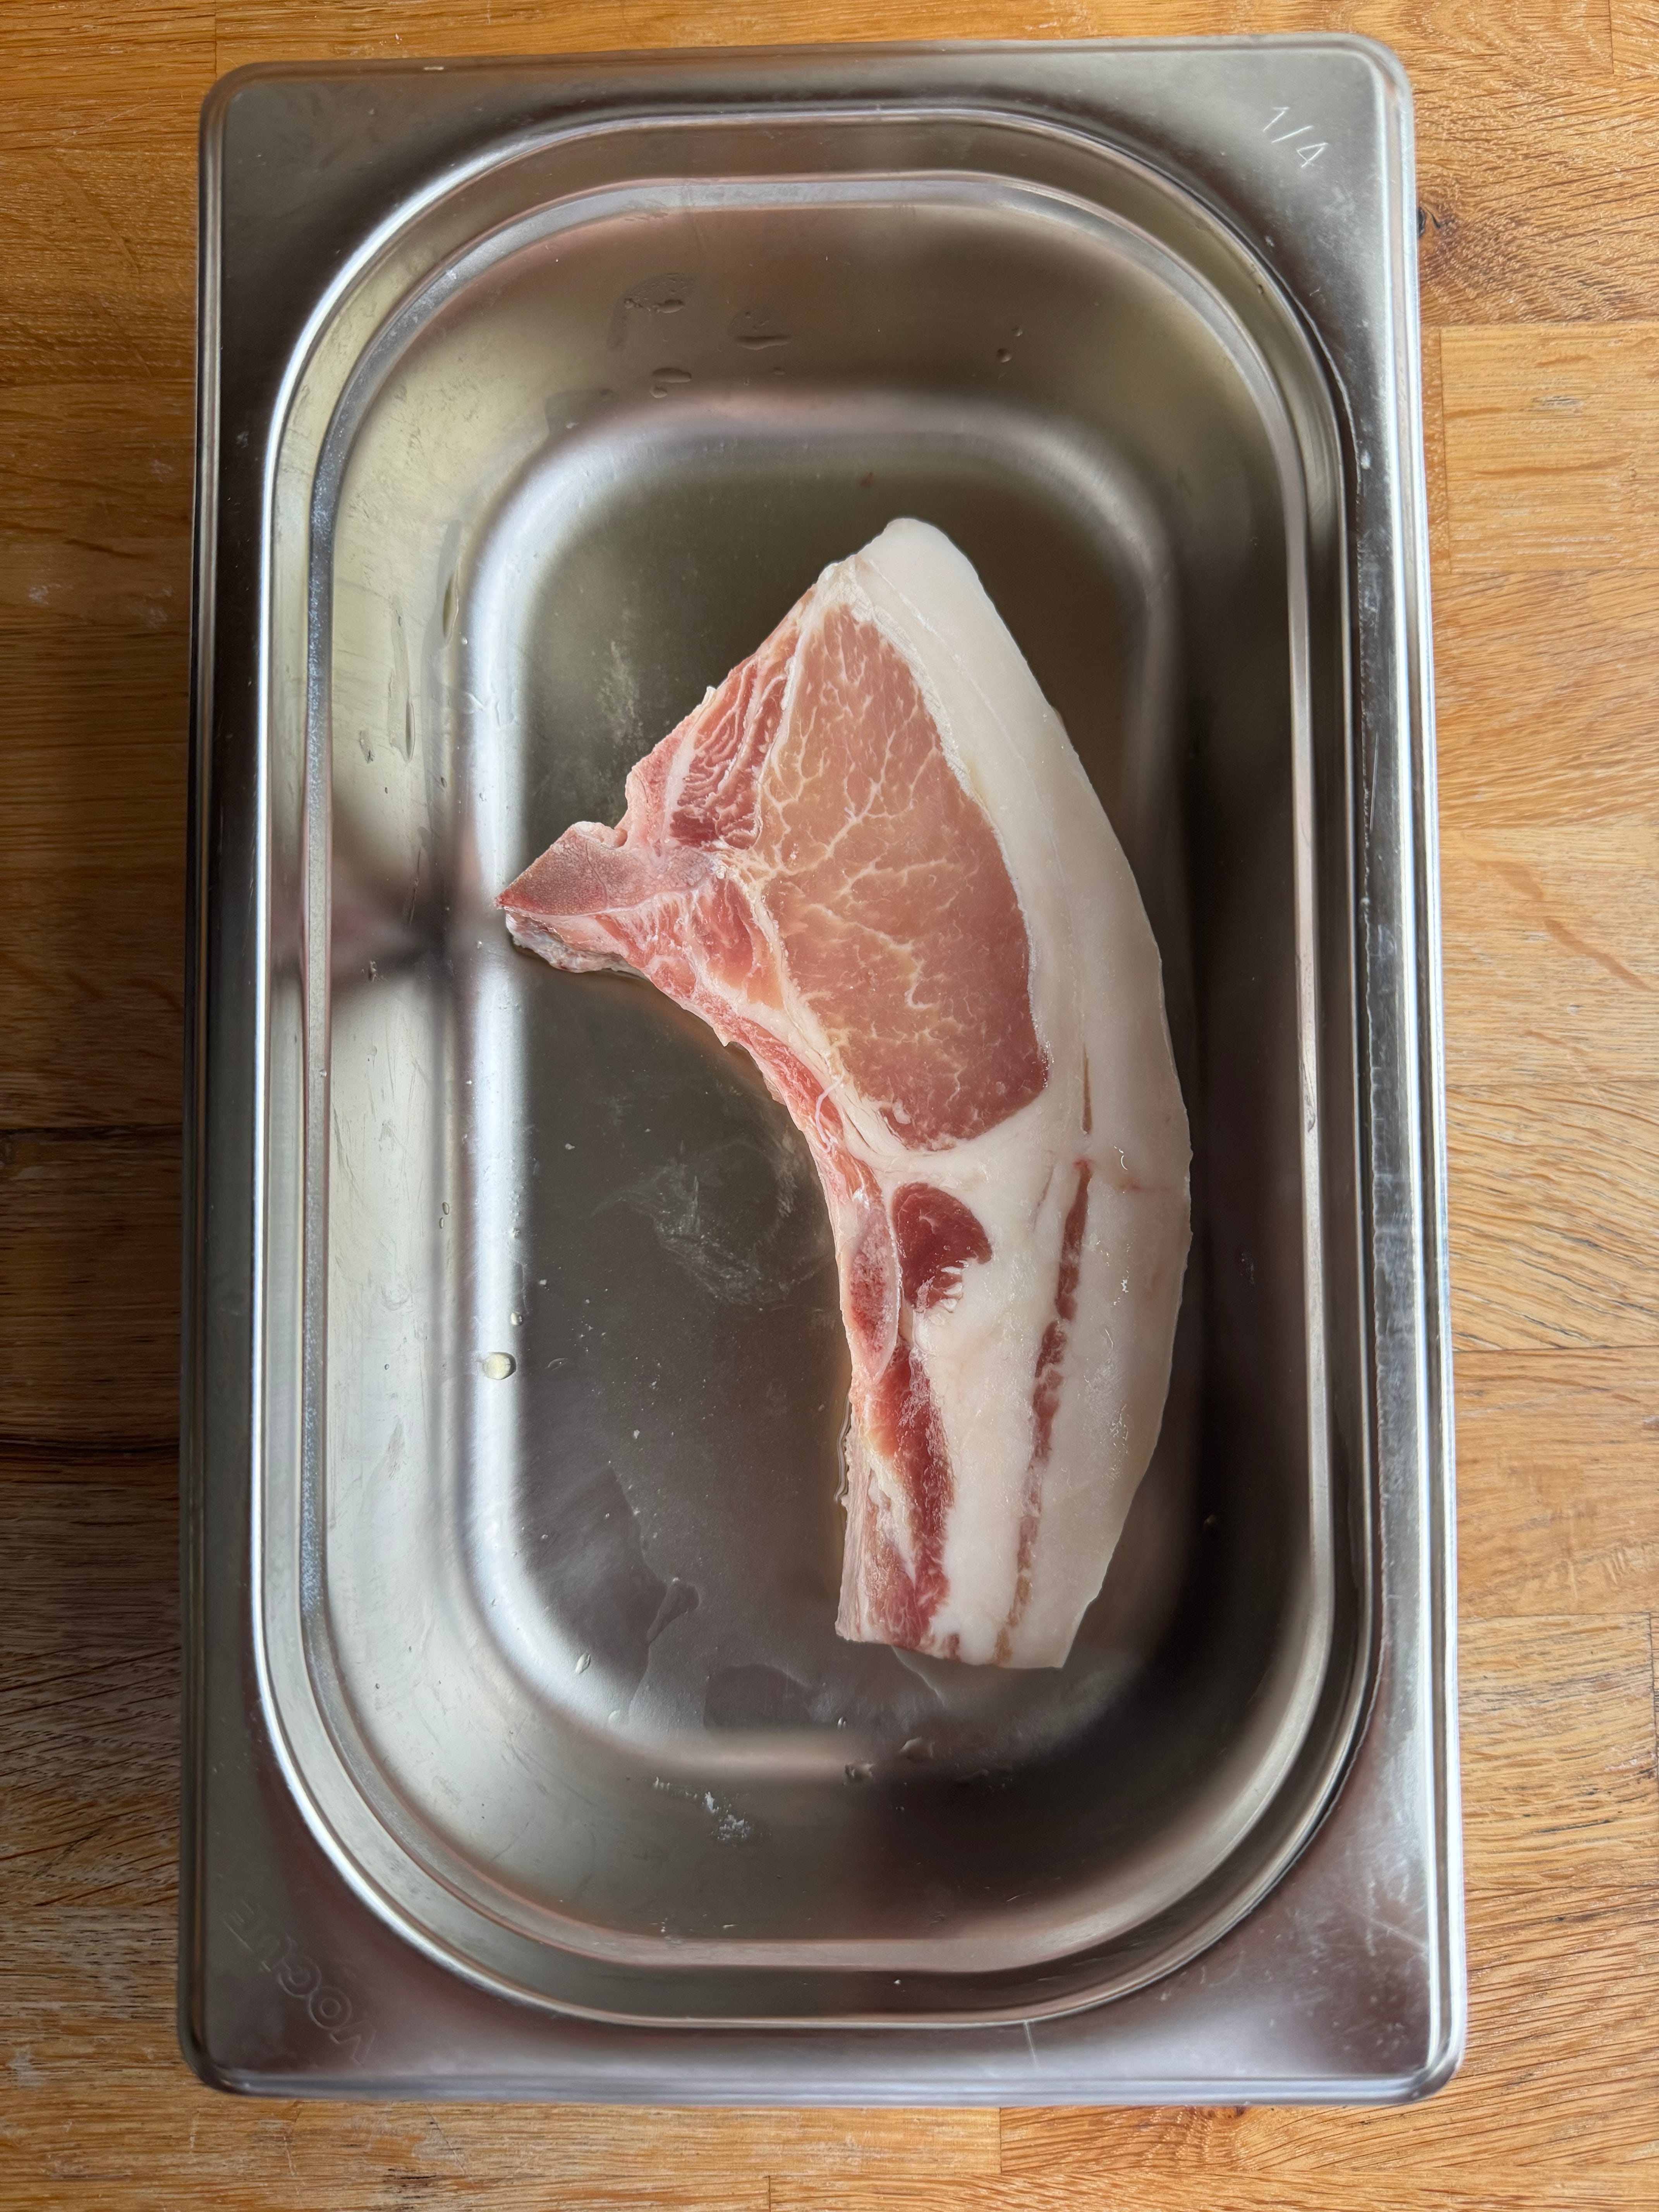
One thick pork loin chop (aka centre loin or centre cut chop), skin removed
1.5 tbs fish sauce
1.5 tbs fat - either veg oil, lard, another animal fat, or ghee (optional)1
Rub the fish sauce into the pork chop in a tray or a container with a flat bottom, coating it on all sides. Let it sit for a couple of hours, turning it occasionally
Get your oven to 70c. Pat the pork dry with a paper towel. Place it in the oven on a wire rack for 40 minutes.
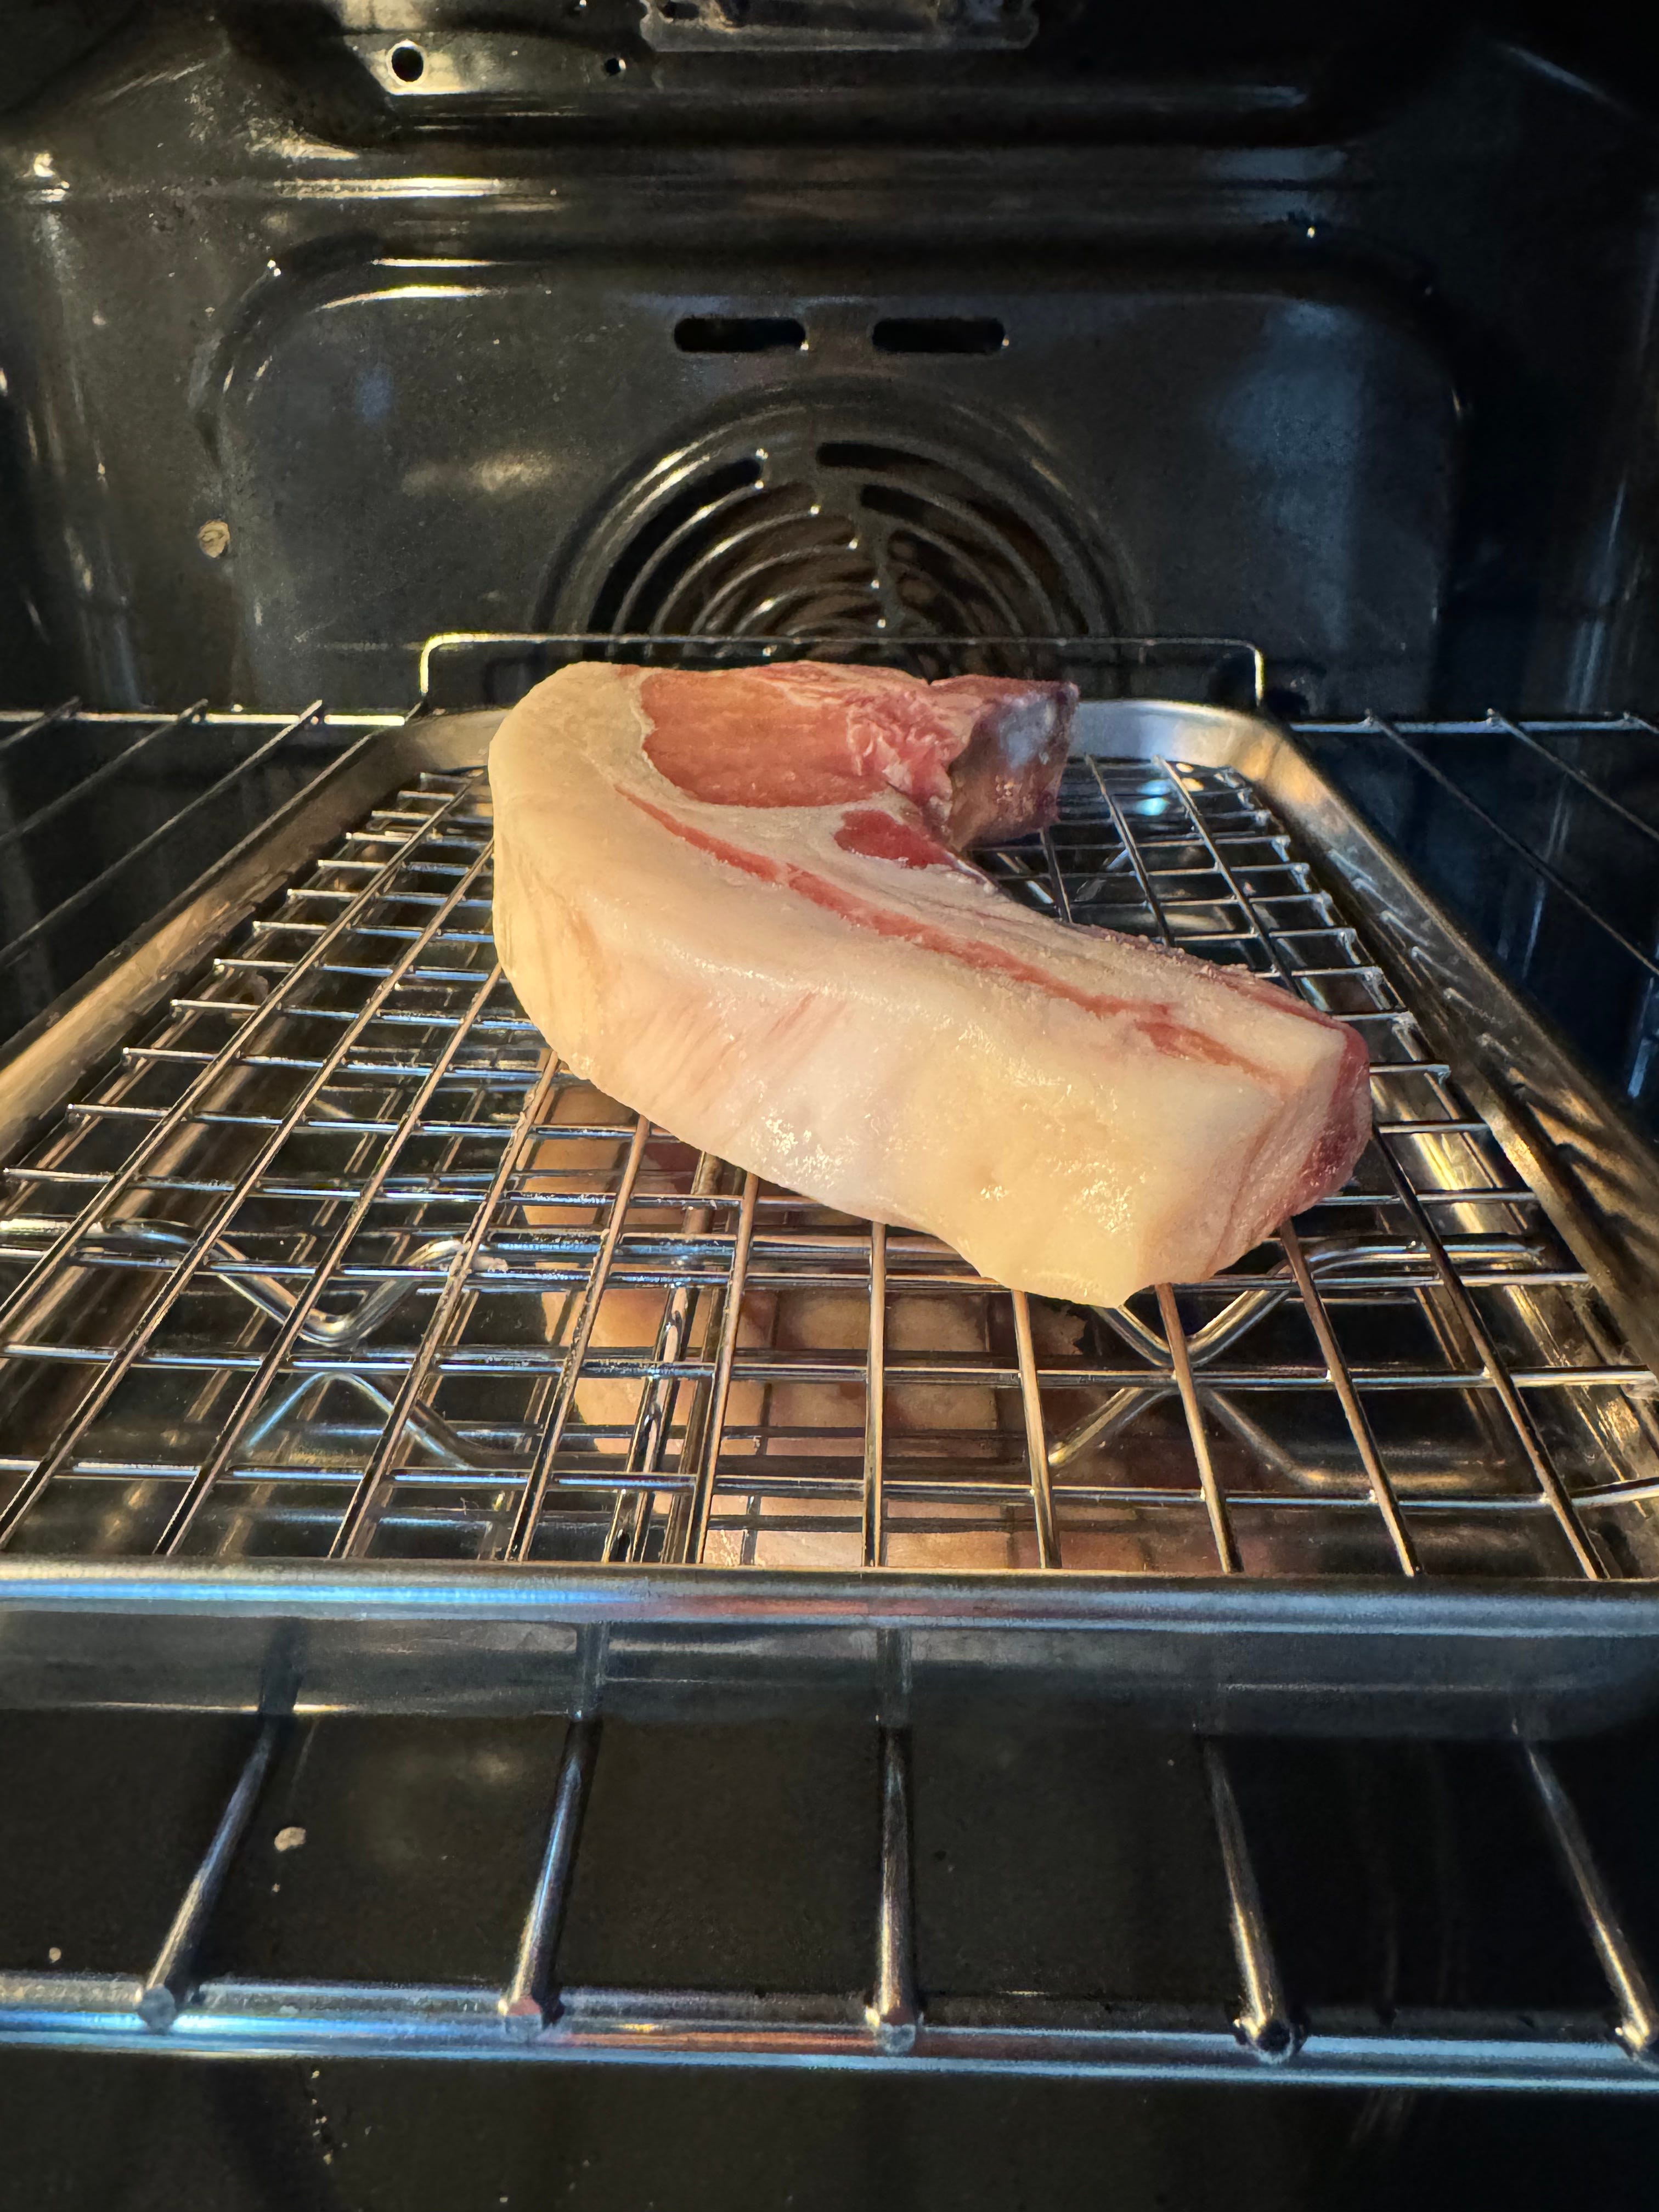
After 40 minutes, remove the chop and pat dry with a paper towel, again removing as much moisture as possible.

Set a pan to medium-high heat, add your 1.5 tbs of fat, and swirl it around so the whole surface is coated. Using tongs, hold the chop fat side down to sear the fatty exterior, constantly adjusting the positioning of the chop (i.e., tilting it forward or backwards) so that all of the fat cap is seared and an even brown colour.
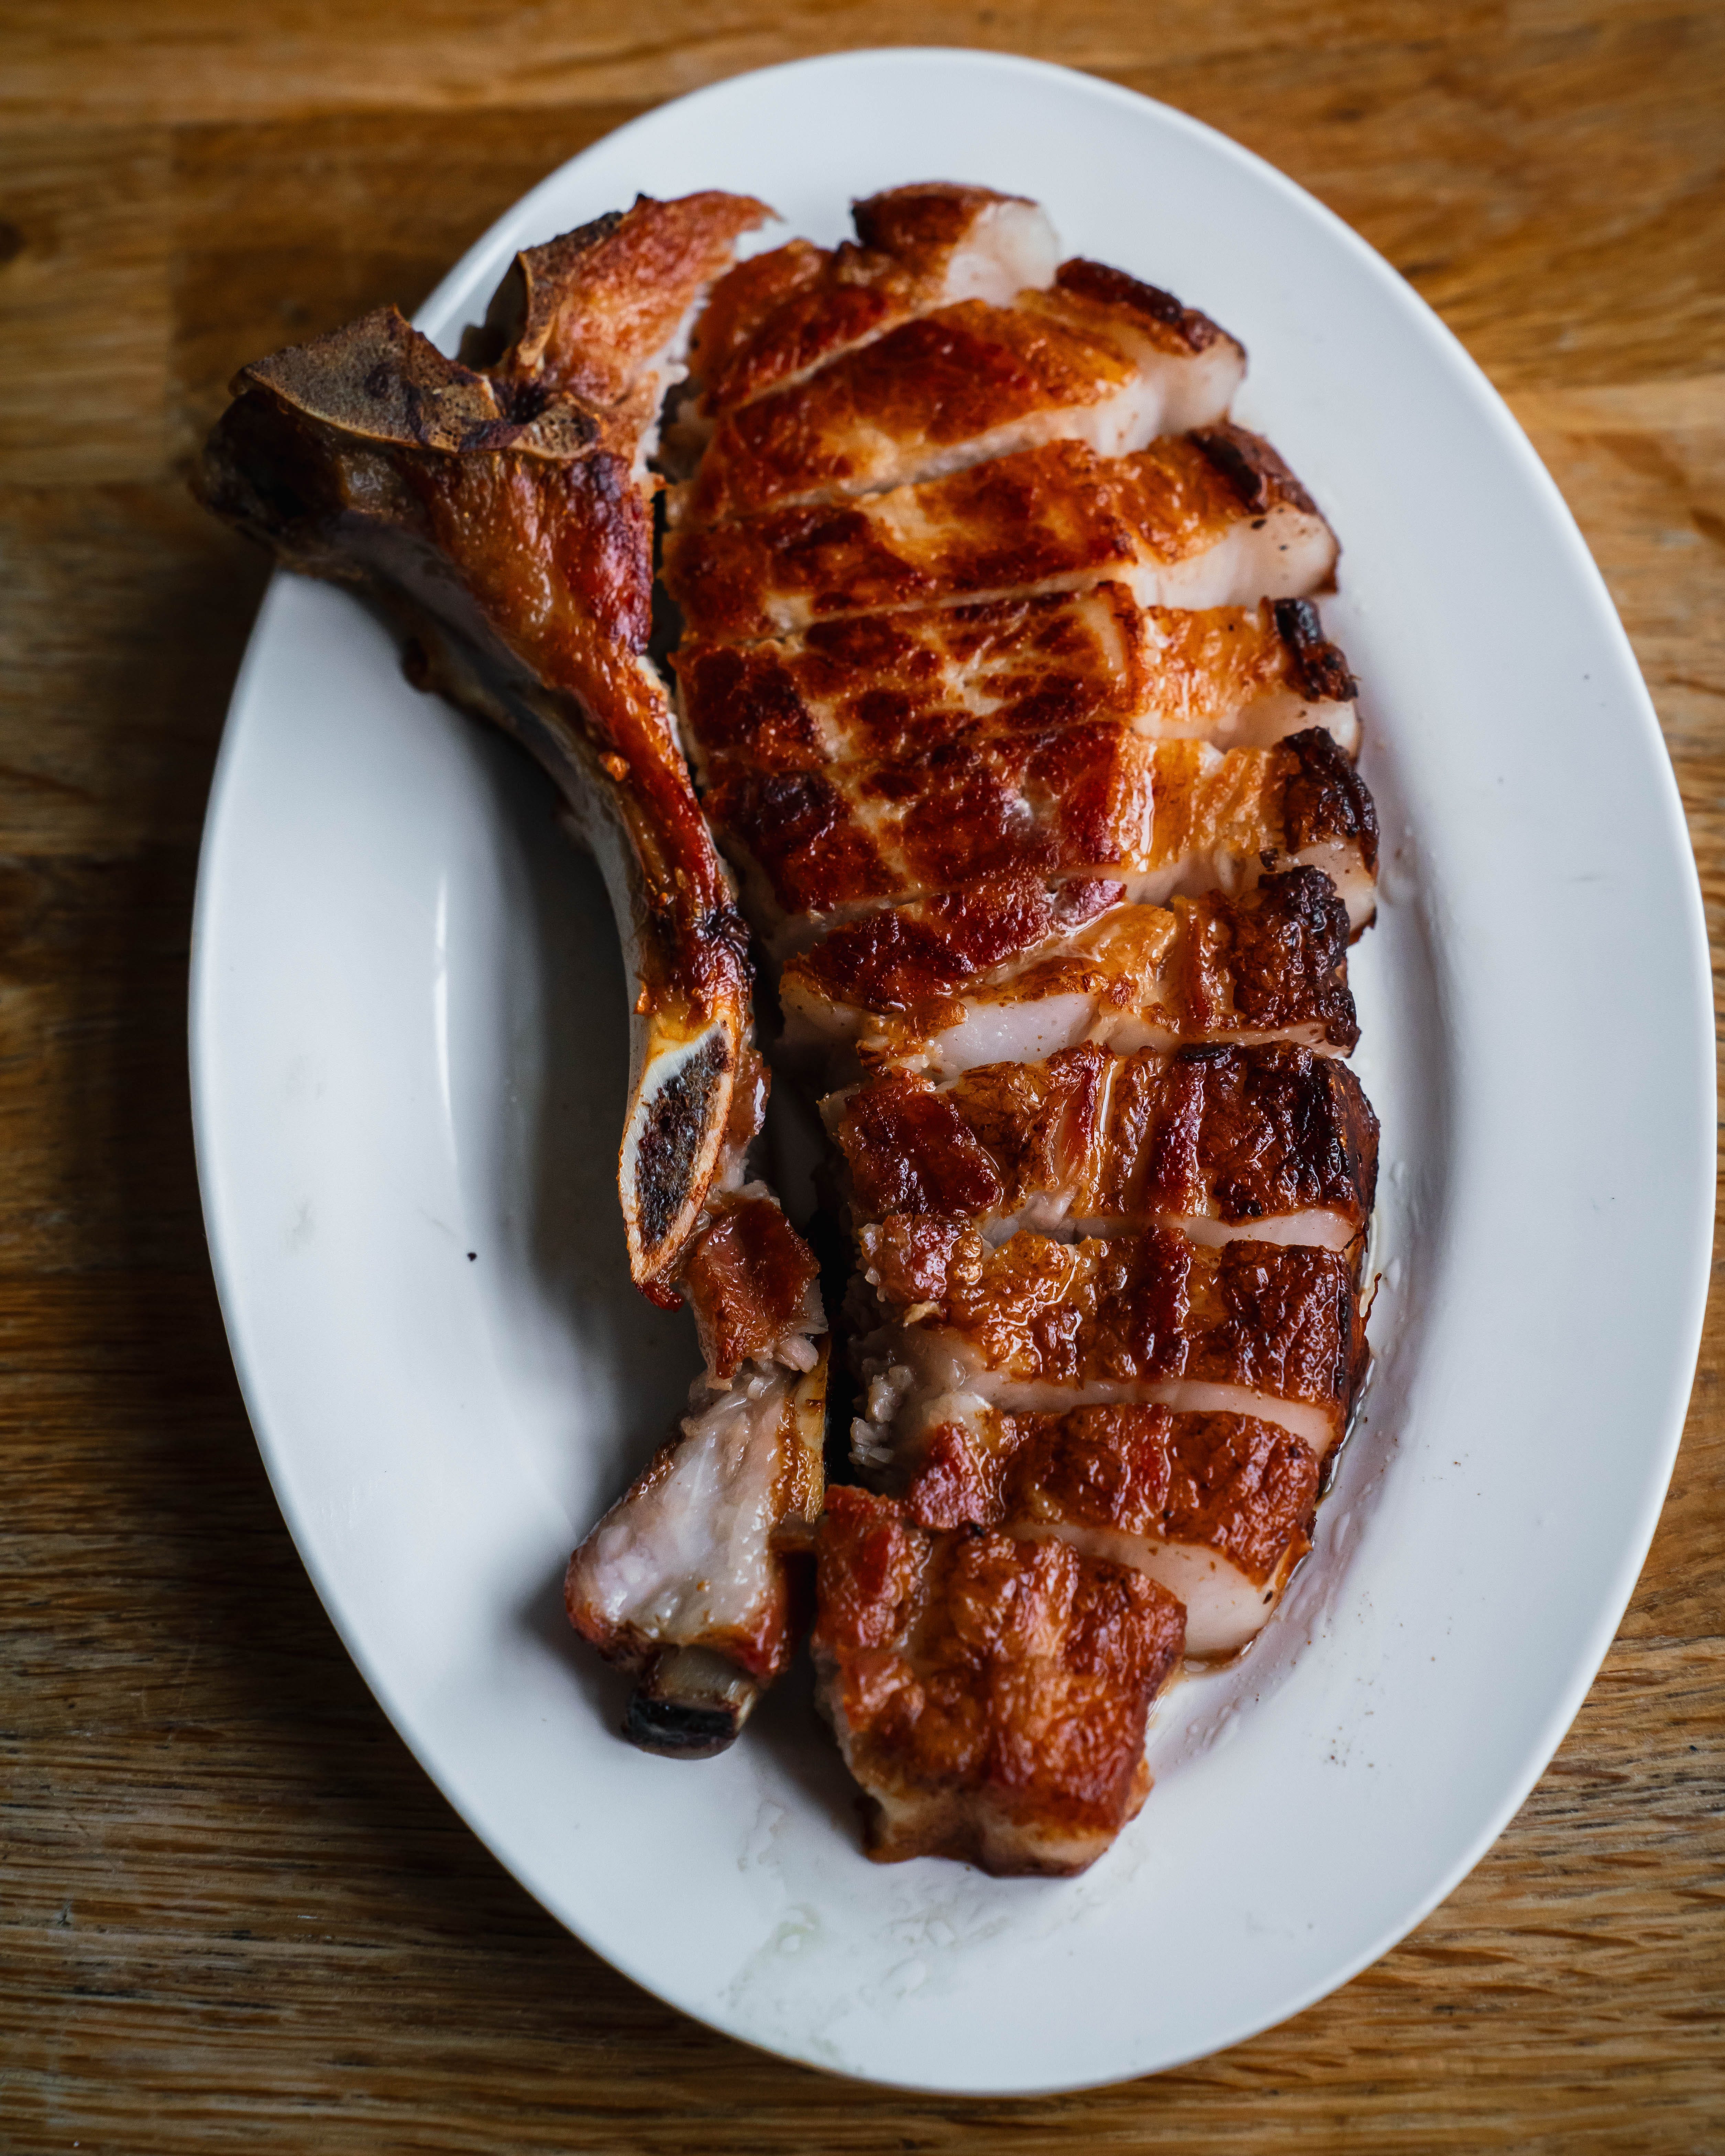
Finally, sear either side of the pork chop until a crust develops. I do this by using a weight and flipping it every thirty seconds (flipping encourages more even cooking), probing the thickest part with a thermometer until it reads 60c. Let it rest for 5 minutes then carve it into pieces by first cutting the L-shaped bone loose, then slicing the fillet into 1cm thick slices.
You don’t actually need fat or oil because you can use the fat from the pork chop itself. When you place the pork chop into the pan and sear the fat cap, saturated fat will liquify and render out leaving you with enough to sear each side of the chop.